This is article is part of a 5 part series. Refer to the other parts here
In our final part, we want to create the offline media to use to reimage our physical machines.
Selection Profile
If we expand the Advanced Configuration folder, we see Media. If we try to create a media file, we have to select a Selection Profile:
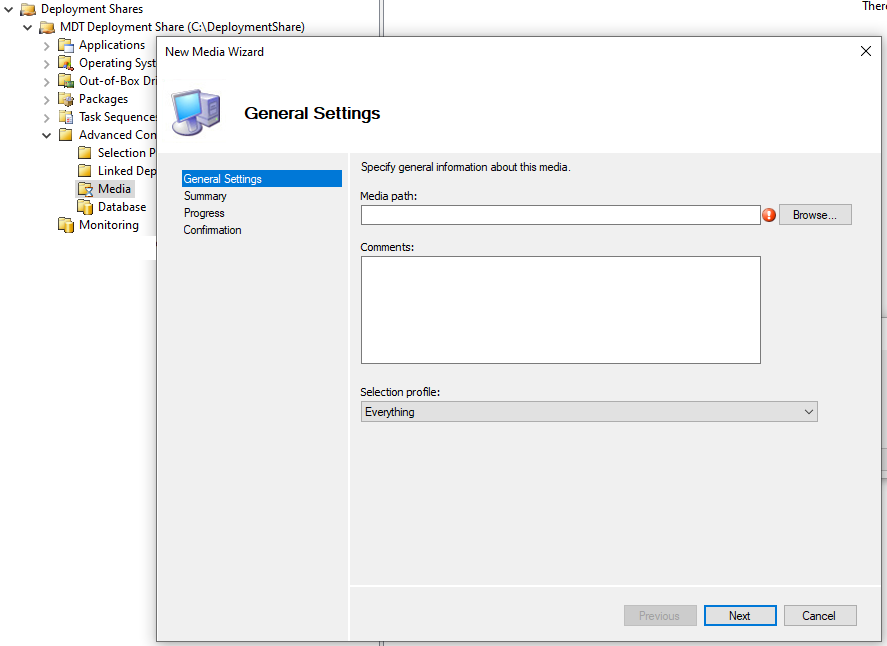
We can see the selection profiles in the Advanced Configuration > Selection Profiles folder:

Open up the All Drivers selection profile, we see that all the drivers are selected. Also note, you can only select folders. You cannot select individual items. E.g. for applications, you can only select the folder, but you cannot choose which application from the folder to include.
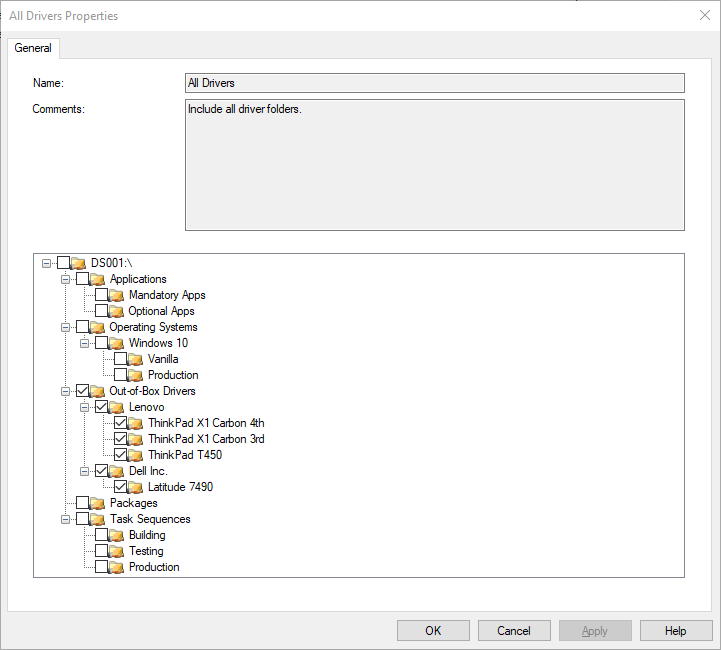
So this is why it is important to ensure you have set up your folder structure correctly. One issue I have is the Mandatory Apps includes Microsoft Office 365:

Selecting Mandatory Apps as part of a selection profile will also select Office, but we have already included Office in our reference image. So ideally, we should exclude it to save space. So we can now move the application to the root Applications folder:
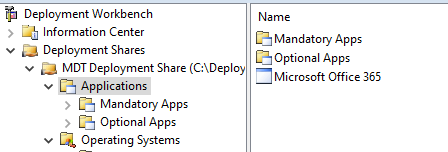
If you copied Office to the root folder, you need to then delete Office from the Mandatory Apps folder:
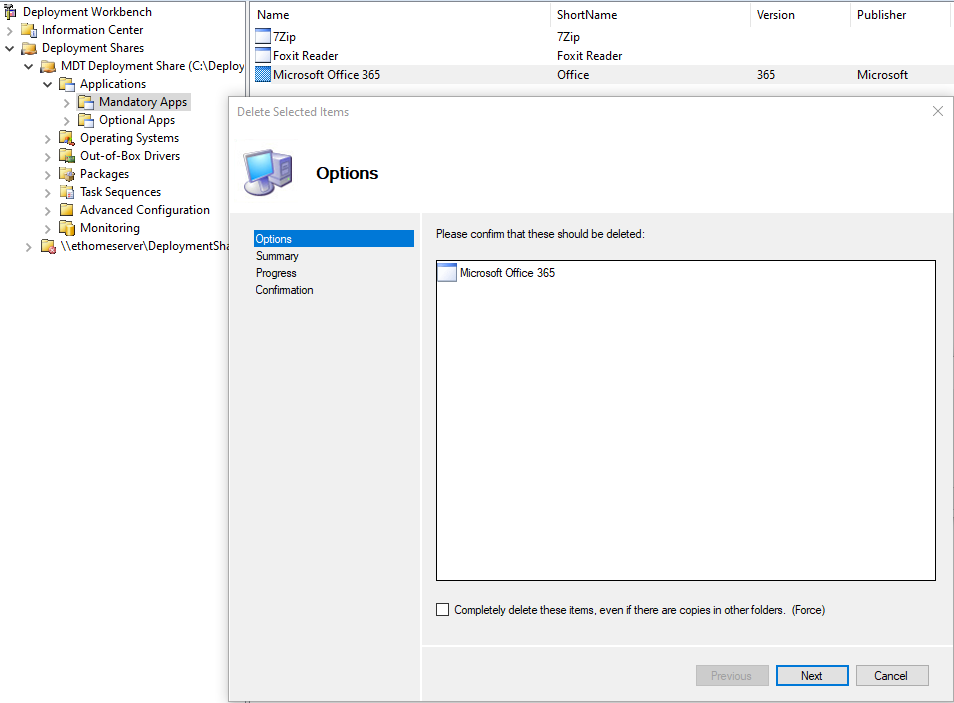
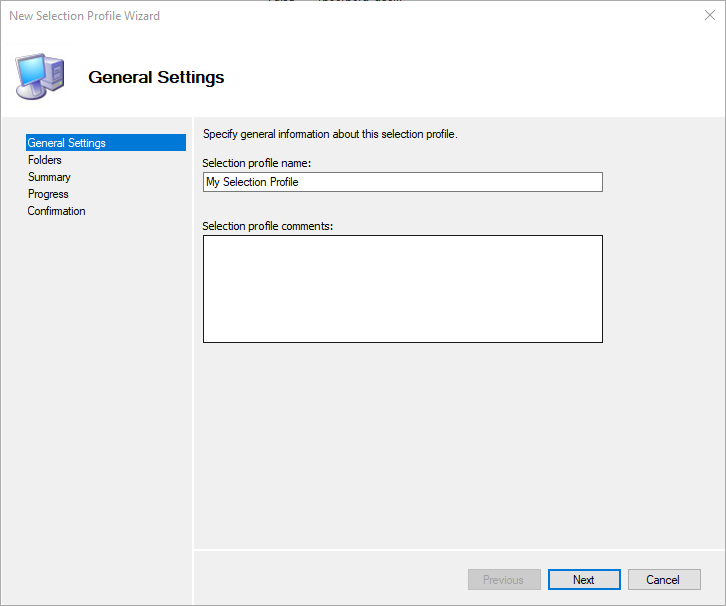
We can now create our new selection profile. Use any name that is easy for you to identify:
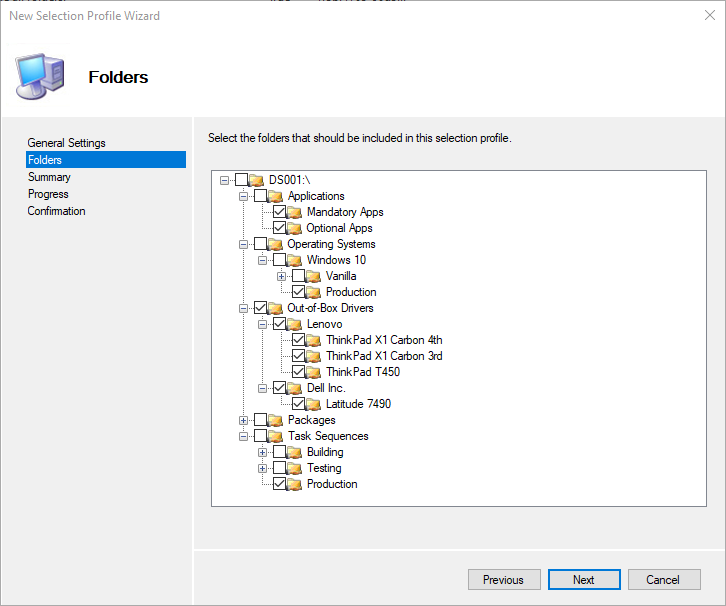
Select all the items we need. We need to select the following:
- All our application (exclude the root Application folder)
- Reference Image, from our Operating Systems > Windows 10 > Production folder
- All our drivers
- Production Task Sequence from Task Sequences > Production
Click Next till the end and save the Selection Profile.
Create Media
Now we can create a new media entry. We need to choose a path outside our deployment folder and our just created selection profile:
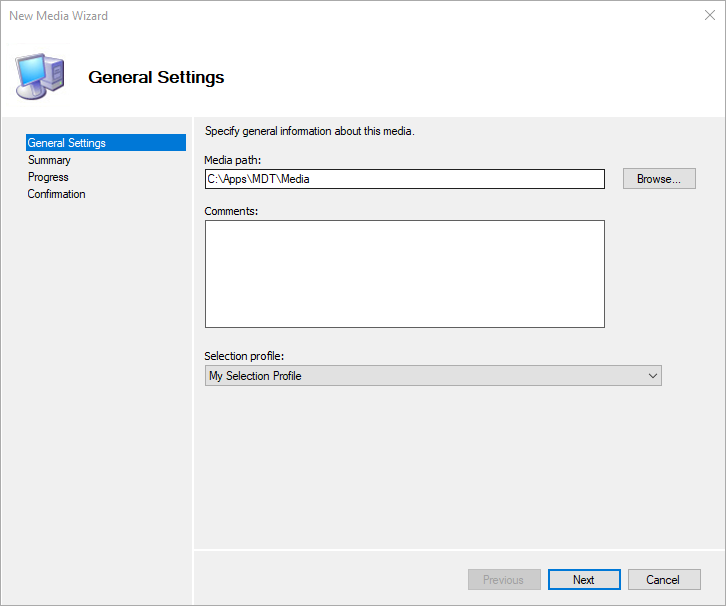
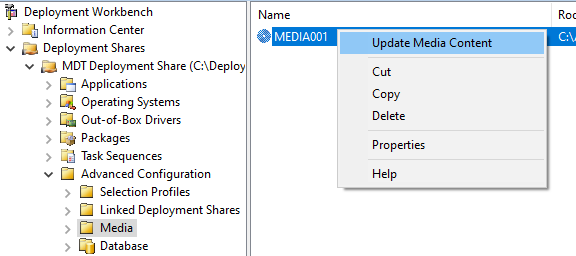
Once done, you can right click on the media file and choose Update Content:
The files needed will now be copied from the Deployment Share to the folder specified earlier:
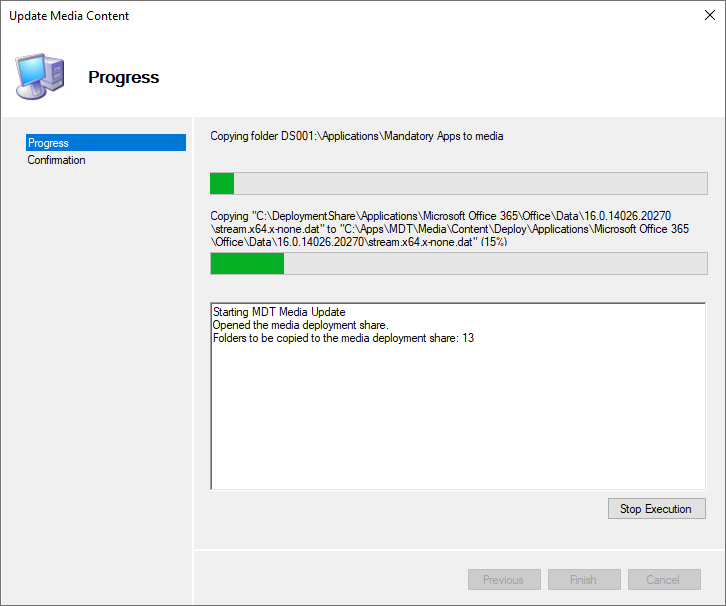
As you can probably see, in my case, I did not delete Office from the Mandatory Apps folder, so Office is also being copied.
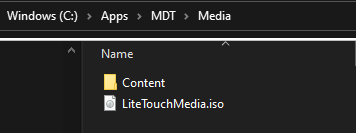
Once done, the folders and ISO file is created in the media folder selected earlier:
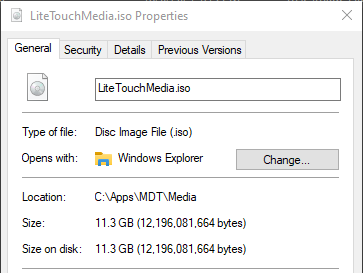
The ISO file is about 11GB in size:
Test ISO media file
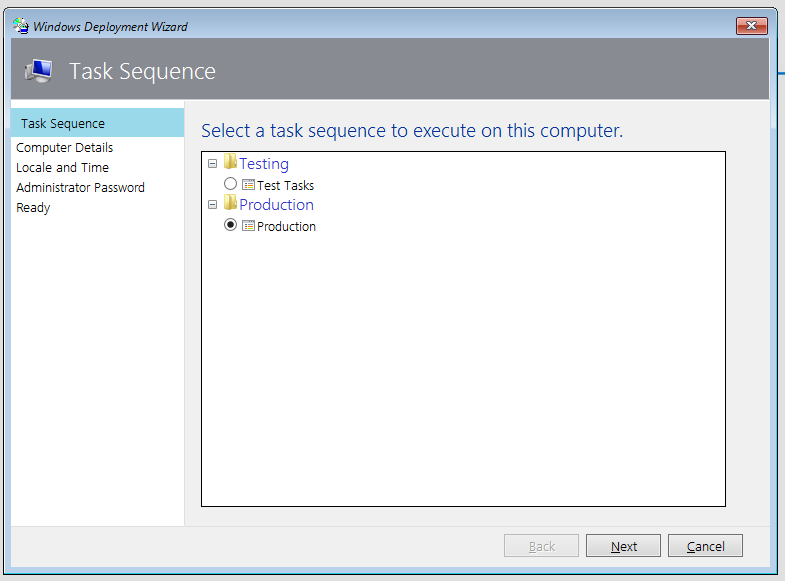
We can now try this file out on a VM first, just to make sure everything works. My example here shows the test task sequence as well, as I had included it by mistake in my selection profile:
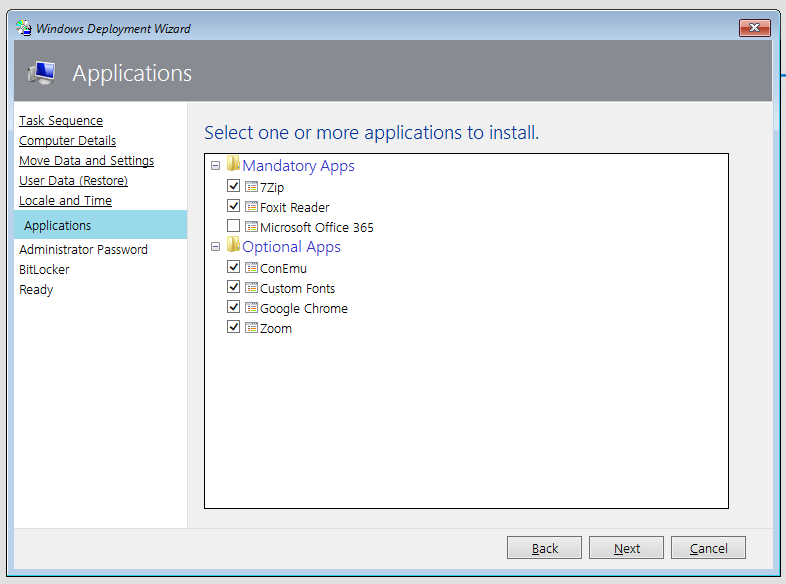
Select all the applications needed:
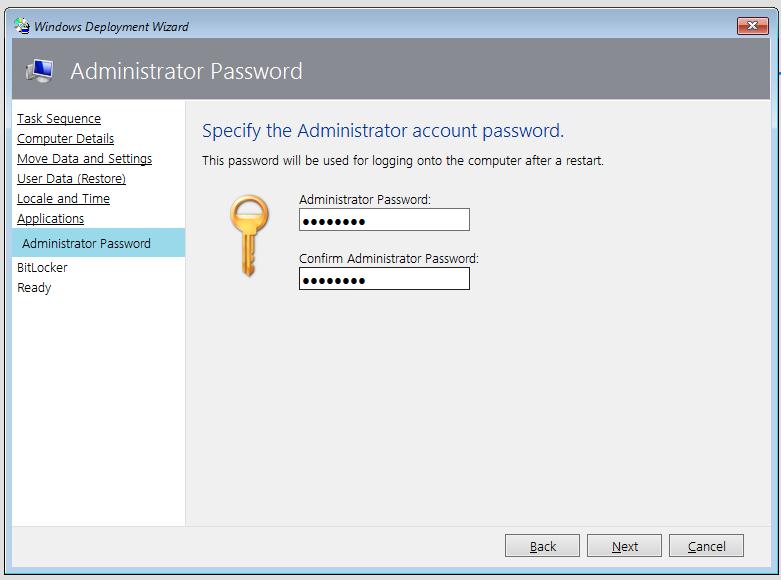
We need to put a password for the admin account:
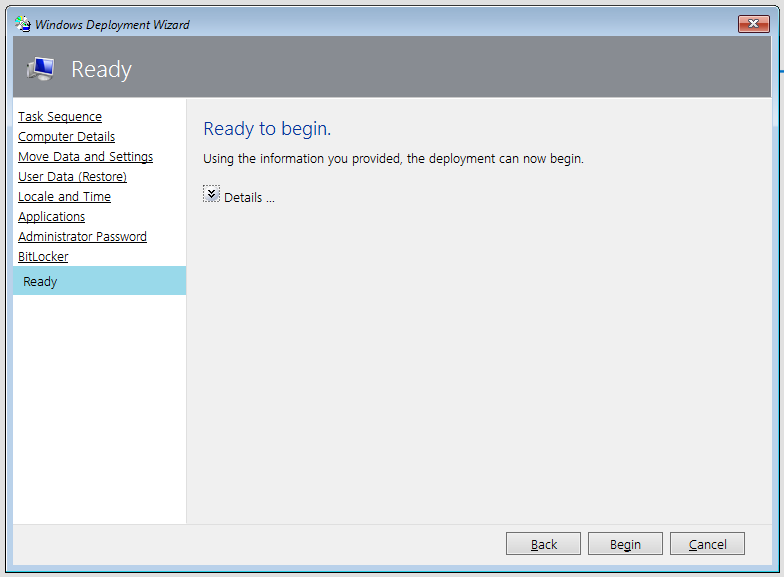
Click next through all the other steps and click Begin:
If it all works ok, then we are done! But if you need to make changes, then you can change whatever is needed, update the deployment share and then update the media again.
If there were mistakes in the selection profile (like I had here) then the resulting ISO will be smaller or larger (depending on the changes made). In my case, the resulting ISO is smaller after removing Office:
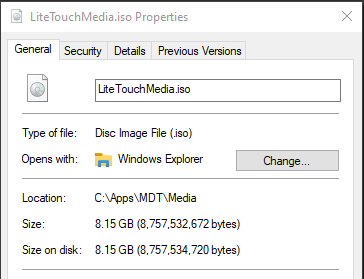
If everything works OK, you can now write the ISO file to a USB drive and try it out on a physical machine. You can then see the results on the machine, check if the drivers were installed correct. I find using Rufus the most reliable method for creating USB from ISO files.
If you are going to setup this machine for someone else to use, I would also suggest to do some cleanup and then run “C:\Windows\System32\Sysprep\sysprep.exe”
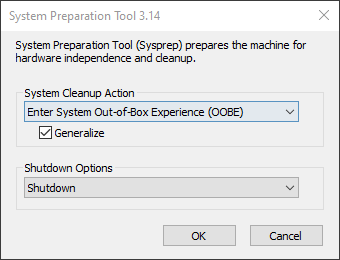
On the next boot, Windows 10 will enter the out of box experience and allow you to setup your user account to use this machine.
And that concludes our MDT topic. I hope you had fun and are up and running with MDT 🙂
Feel free to tweak and adjust the settings as needed and let me know how it went for you.
